I've been wanting to make a flannel rag quilt for a while now. I received this adorable flannel material from my sponsor
Marie Madeline Studio and absolutely love it. I've never ordered any of their flannel before and I'm definitely hooked. It is the SOFTEST FLANNEL EVER!!! I can't even explain how wonderfully soft it is...you'll just need to buy it and fall in love yourself.
I also picked up two coordinating colors of pink flannel from Hancock fabrics. (Ok, but definitely not super soft)
Here's what you'll need to make this quilt
- 1 1/2 yards of the main fabric (a pretty pattern)
- 1/2 yard of coordinating fabric #1 (a solid)
- 1/2 yard of coordinating fabric #2 (a solid)
- 2 yards of white flannel (for the middle of the blanket)
- Sewing Machine
- Coordinating Thread
- Scissors
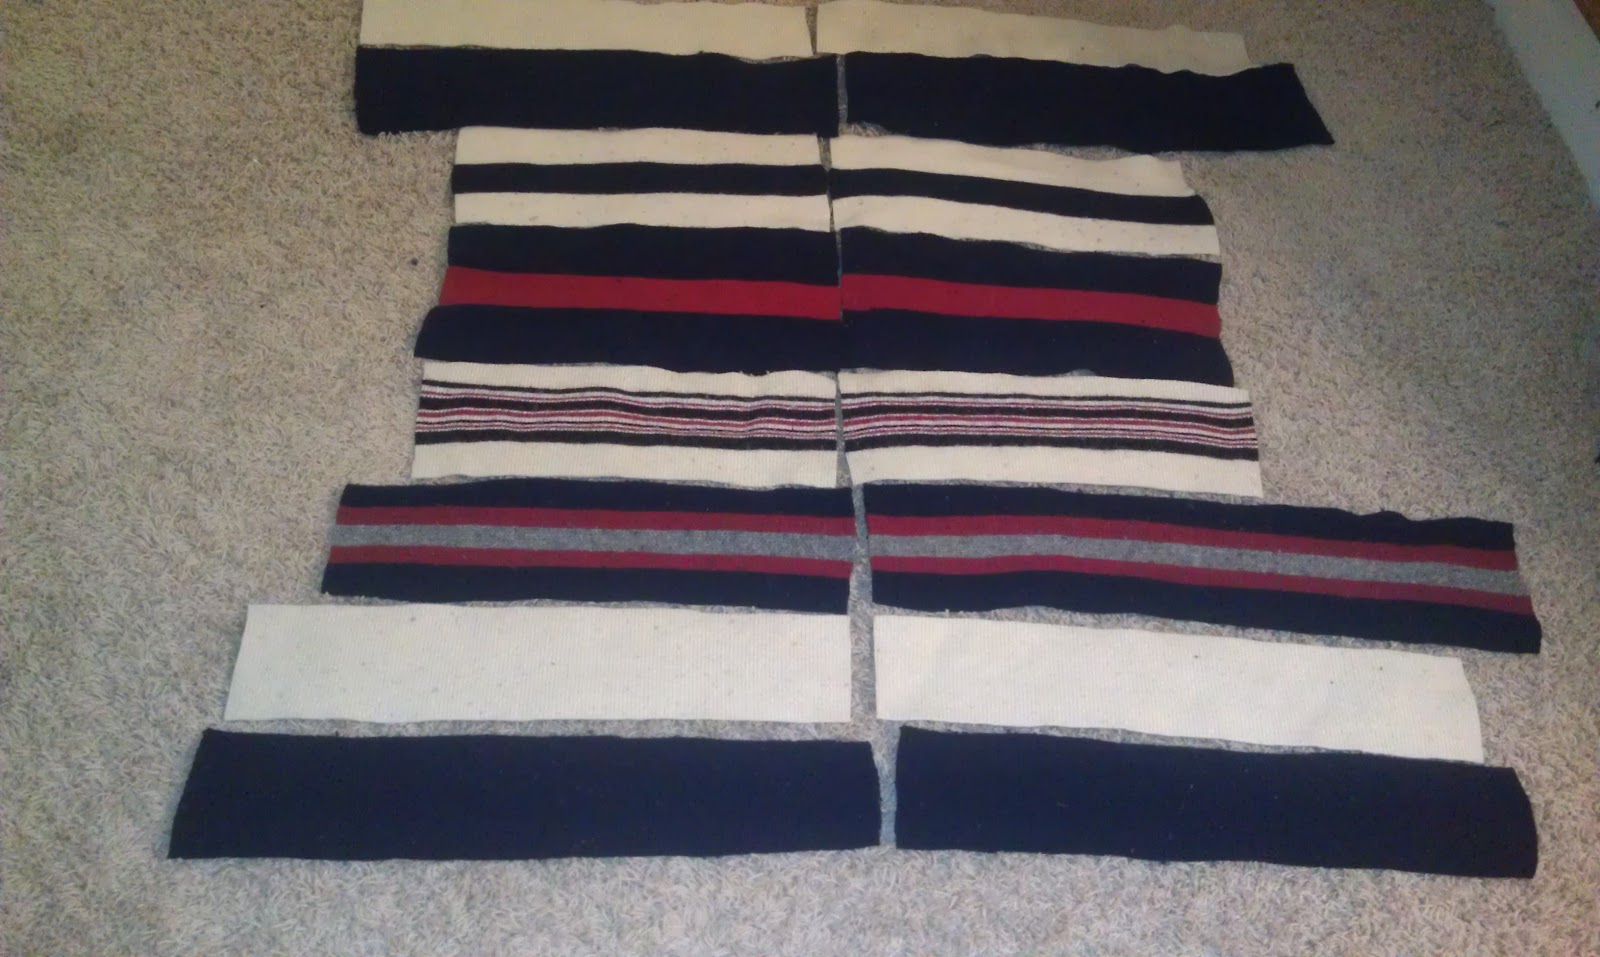
Step 1: Cut your main fabric into six strips that are 8 inches x 36 inches. Cut each of your coordinating fabrics into two strips that are 4 inches x 36 inches. At this point you should have a total of 10 strips. Next you'll cut your white flannel into five strips so that you can sandwich a white piece in between each of your other pieces. (Hopefully that wasn't completely confusing)
Here are all your strips laid out (15 strips in all)
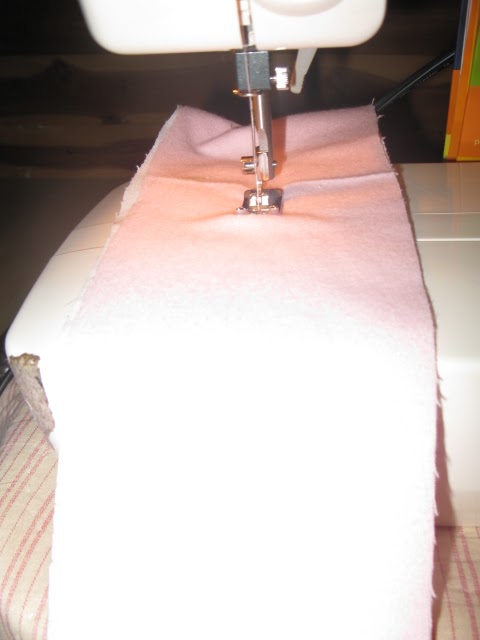
This is what the "sandwich" looks like
Step 2: Next you will sew a straight line down the middle of each "sandwich" so that they will stay together.
Step 3: Once you've created your five "sandwiches", you will start sewing them to one another. Front side to front side. The wider seam you have the more rag you will create.
Do this until all your pieces are sewn together into one quilt.
This is what the quilt will look like once you have sewn the pieces together.
Step 4: Now sew around the entire edge of the quilt, about 3/4 inches from the edge.
Step 5: Finally you're going to make small cuts around the edge of the quilt and where each of your pieces of material meet up. Be sure not to cut through the thread though!
Here is the finished product. So Cute! It's perfect for a newborn but it definitely wouldn't be hard to make it bigger. (as in for yourself haha)
Here is the back of the quilt, smooth.