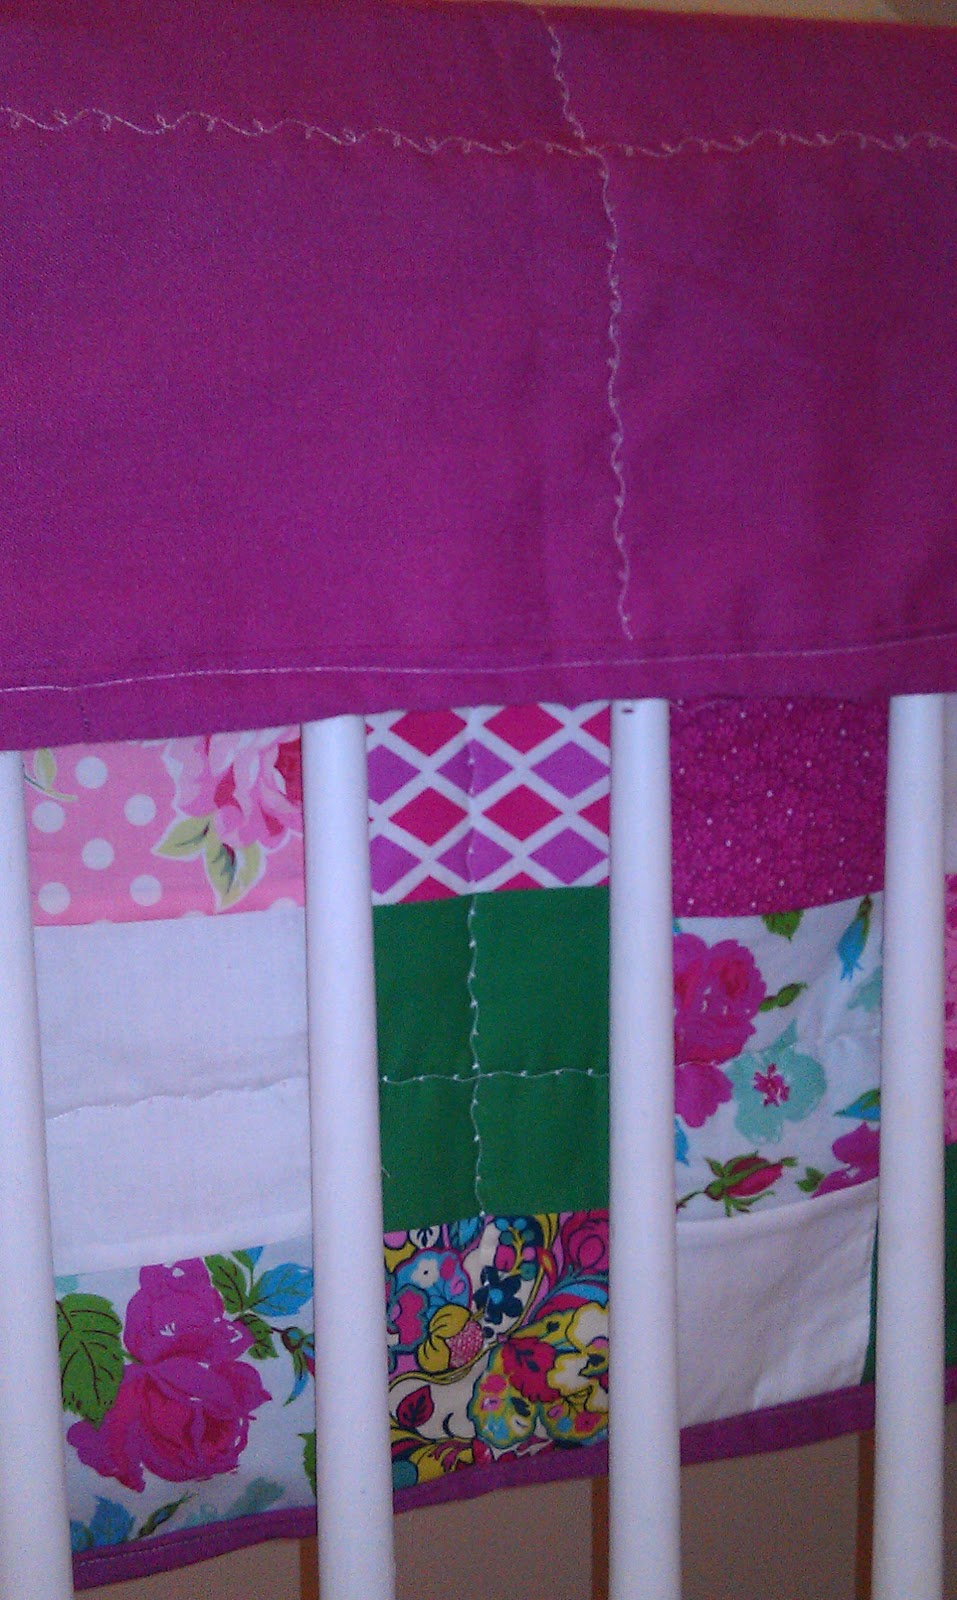
One of my sponsors, Marie Madeline Studio, offers 'Scrap Bags' for sale...su ch a great idea! I received one in the mail and was excited to peak inside since I had no idea what I would get.
Inside were various small pieces of fabric, ranging in color and size. I sorted through the scraps and found a number that coordinated. I cut out 30 five inch squares from the coordinating fabrics and added a few of my own (the solid green and white squares seen below) and created a quilt!
I think the idea of a scrap bag is brilliant...the mystery and anticipation of opening up the package and seeing what's inside is a lot of fun! And the possibilities are endless!
Here are a few photos of the quilt I completed. The back of the quilt is from some material I purchased at a thrift store a few months ago. It matches perfectly!
I just love the colors in this quilt, don't you?
Showing posts with label Quilt. Show all posts
Friday, March 1, 2013
Thursday, January 31, 2013
My finished quilt and a Giveaway!
I finished the quilt. I added the back (a solid yellow), finished up the decorative stitching, and finished the edges with white bias tape.
I really enjoyed making this and absolutely love the material (Marmalade by Moda)
Now for the giveaway!
If you would like your own 'Charm Pack' (a set of 42 five inch squares from the Marmalade line) here's your chance!

Enter below and good luck!
a Rafflecopter giveaway
I really enjoyed making this and absolutely love the material (Marmalade by Moda)
Now for the giveaway!
If you would like your own 'Charm Pack' (a set of 42 five inch squares from the Marmalade line) here's your chance!
Enter below and good luck!
a Rafflecopter giveaway
Tuesday, January 29, 2013
Quilt Time!
I've been wanting to make a quilt for a while. I feel like enough time has passed since I made the puff quilt that I'm willing to try another one.
My sponsor, Skye Reve Fabrics has some great fat quarter and half yard packs that they've put together which I love. It's so nice when you don't have to scour the aisles wondering which fabrics would work well together. The fabrics I used for this quilt are from the marmalade bundle and I just love them!
So the first thing I did was cut out all my squares. This quilt is 7x7 of 5 inch squares (a total of 49 squares) and then I sewed them together to form rows. Next I sewed all the rows together. I purchased some quilt batting and sewed it to the finished squares. My machine has some decorative stitches on it that I haven't yet tried,so I used this as an opportunity. Using the decorative stitch, I sewed down each row. Check out the pictures below to see how that turned out...I really like it!
I still need to add the back (so some more decorative stitching) and then finish the edges but I'm really happy with how it's coming so far.
My sponsor, Skye Reve Fabrics has some great fat quarter and half yard packs that they've put together which I love. It's so nice when you don't have to scour the aisles wondering which fabrics would work well together. The fabrics I used for this quilt are from the marmalade bundle and I just love them!
So the first thing I did was cut out all my squares. This quilt is 7x7 of 5 inch squares (a total of 49 squares) and then I sewed them together to form rows. Next I sewed all the rows together. I purchased some quilt batting and sewed it to the finished squares. My machine has some decorative stitches on it that I haven't yet tried,so I used this as an opportunity. Using the decorative stitch, I sewed down each row. Check out the pictures below to see how that turned out...I really like it!
I still need to add the back (so some more decorative stitching) and then finish the edges but I'm really happy with how it's coming so far.
Monday, July 16, 2012
Puff Quilt Completed!
It's finished! All in all it took about 20 hours to complete and I'm happy with the result (and glad it's done!)
The process of making a puffed quilt isn't all that difficult, its just tedious. There aren't a lot of steps, it's just that you have to replicate each step 100 times...which is quite time consuming.
The hardest part for me was the final step, the binding. I've done binding before on clothes and it's not that difficult when you're dealing with flat, consistent, material. But when you're dealing with puffs that are all slightly different, squishy and very difficult to pin...then it gets tricky...
I definitely learned a lot during the process and am glad I attempted the project.
I think it would be a great project to do with your daughter, as a "first-sewing" project that you could work together on over the course of a few weeks. They also make wonderful shower gifts or first birthday gifts. (That's what mine was for)
I've added the option of purchasing a puff quilt kit to my store (check it out here). The kit includes everything you'll need to create the quilt shown in this blog (Except for scissors and your sewing machine). That's right, all the material, binding, backing, thread, and batting are included. You will also receive an eight page step by step tutorial, complete with photos of each step. The price for a kit is only $53.99, if you're interested shoot me an email.
If you would like to just purchase the e-tutorial, so that you can pick out your own material, that is also available in my store (only $3.99)
BUT! For a limited time, you can have the eight page e-tutorial for free if you become a follower of my blog. This deal is only good through Wednesday 7/17/2012 at midnight. Once you've become a follower of my page, shoot me an email and I'll email you the PDF E-Tutorial-absolutely free!
So what do you think? Do you like it? Have you made a puff quilt before? Thinking of making one now?
Subscribe to:
Posts (Atom)